

Wood frames have been removed. Mulch has been repurposed. Dead bushes have been discarded. Dirt has been tilled.
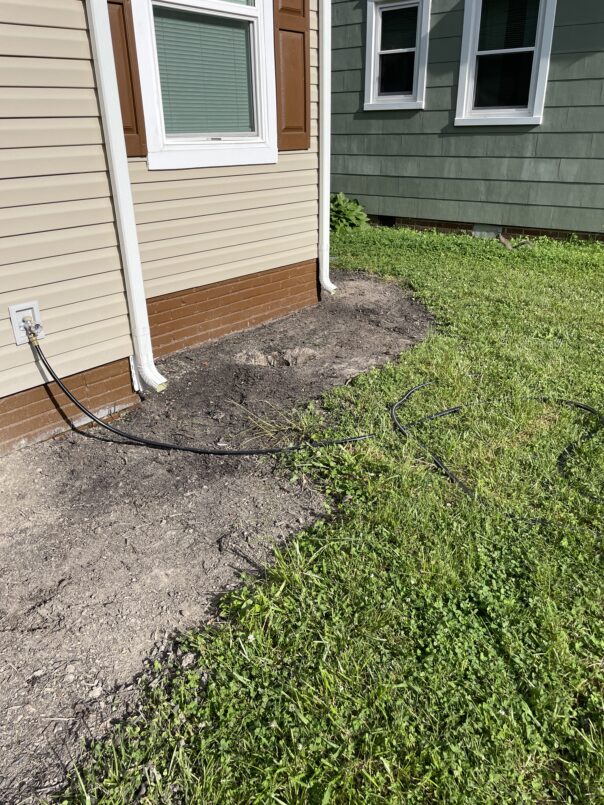
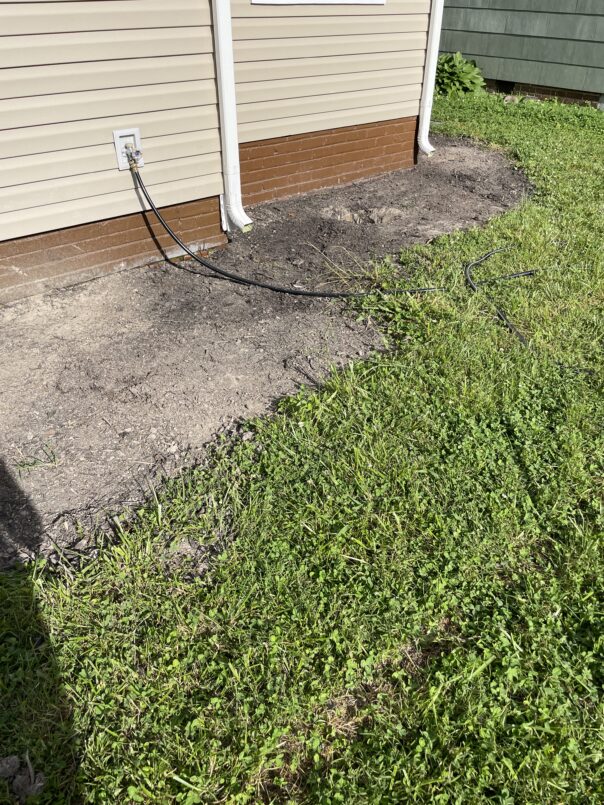
The good thing is that I wasn’t completely starting from scratch when it came to sprucing up these flower beds. The shape/outline that was already created from previous landscapers with the wood beams helped tremendously. I just had to follow the outline a bit and created a defined edge.
The two vides below sum up all that was done to get the flower beds to where I wanted them to be. As you can see, I ended up returning the original tiller for a smaller one (amazon link). This one was much easier to manage and worked perfectly for tilling narrow areas of the beds. Let’s talk about this manual edger though…whew! This was a workout and pretty cool to use! The metal footplate helps to make the edging process a bit easier with digging as deep as you need to within the dirt.